The Prototype Pattern is a powerful design pattern in C# that allows for efficient object creation by cloning existing objects. In this article, we will explore how to implement the Prototype Pattern with real-life examples. We’ll cover the intent, problem, solution, real-world analogy, structure, applicability, implementation steps, pros and cons, relations with other patterns, and provide detailed code examples.
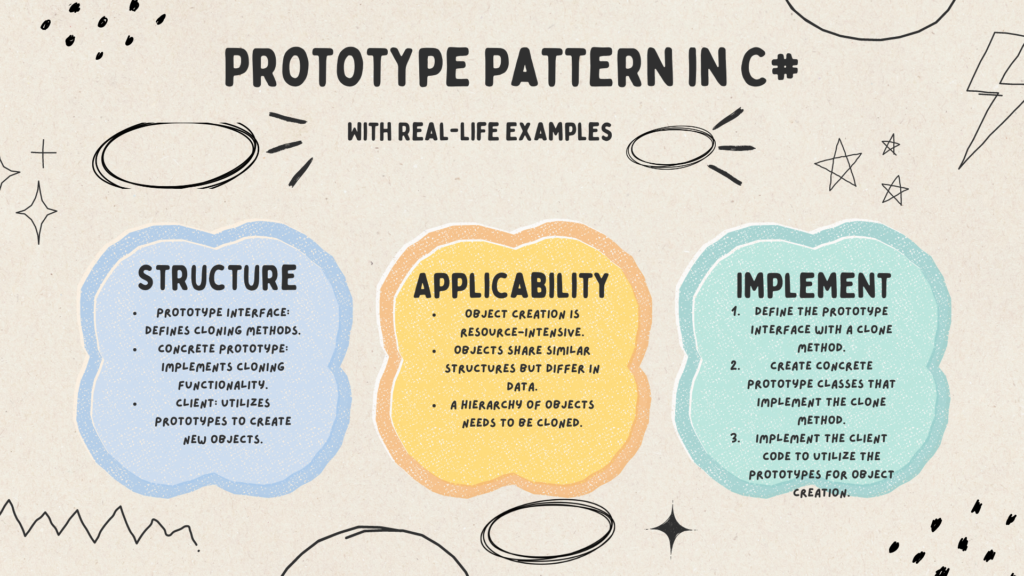
Table of Contents
Intent of the Prototype Pattern
The Prototype Pattern’s primary intent is to create new objects by copying an existing object, known as the prototype. This approach improves performance and reduces resource-intensive object creation processes. It falls under the creational design patterns category
The Problem Addressed by the Prototype Pattern
Consider a scenario where you need to create multiple instances of a complex object. Traditional object creation involves costly initialization processes, leading to performance overheads and management challenges.
Solution Offered by the Prototype Pattern
The Prototype Pattern solves this problem by allowing objects to be cloned. Instead of creating new objects from scratch, the pattern enables the creation of copies from a prototype object, reducing overhead and ensuring consistency.
Real-World Analogy: Prototype in Manufacturing
Imagine a car manufacturing plant where different models of cars are produced. The prototype pattern can be likened to creating new cars by cloning an existing prototype model. This approach streamlines the manufacturing process and ensures that each new car maintains the standard features and specifications of the prototype.
Structure of the Prototype Pattern
The Prototype Pattern comprises the following components:
- Prototype Interface: Defines cloning methods.
- Concrete Prototype: Implements cloning functionality.
- Client: Utilizes prototypes to create new objects.
Applicability of the Prototype Pattern
The Prototype Pattern is applicable in scenarios where:
- Object creation is resource-intensive.
- Objects share similar structures but differ in data.
- A hierarchy of objects needs to be cloned.
How to Implement the Prototype Pattern in C# with Real-Life Examples
Let’s walk through the steps to implement the Prototype Pattern in C#:
- Define the Prototype Interface with a
Clonemethod. - Create Concrete Prototype classes that implement the
Clonemethod. - Implement the Client code to utilize the prototypes for object creation.
Example 1
Let’s illustrate the implementation steps with an example of a document management system:
Step 1: Define the Prototype Interface
public interface IDocumentPrototype
{
    IDocumentPrototype Clone();
}
Step 2: Create Concrete Prototype Classes
public class Document : IDocumentPrototype
{
    public string Title { get; set; }
    public string Content { get; set; }

    public IDocumentPrototype Clone()
    {
        return new Document { Title = this.Title, Content = this.Content };
    }
}

public class Resume : IDocumentPrototype
{
    public string Name { get; set; }
    public string Experience { get; set; }

    public IDocumentPrototype Clone()
    {
        return new Resume { Name = this.Name, Experience = this.Experience };
    }
}
Step 3: Client Code
public class DocumentManager
{
    private Dictionary<string, IDocumentPrototype> prototypes = new Dictionary<string, IDocumentPrototype>();

    public void AddPrototype(string key, IDocumentPrototype prototype)
    {
        prototypes[key] = prototype;
    }

    public IDocumentPrototype GetPrototype(string key)
    {
        return prototypes[key].Clone();
    }
}
Usage Example
var manager = new DocumentManager();
manager.AddPrototype("Document", new Document { Title = "Prototype Document", Content = "Sample content" });
manager.AddPrototype("Resume", new Resume { Name = "John Doe", Experience = "5 years" });

var clonedDocument = manager.GetPrototype("Document");
var clonedResume = manager.GetPrototype("Resume");
Example 2: Real-Life Example: Graphic Design Tool
Let’s consider a graphic design tool where users can create and edit various graphic elements such as shapes, text boxes, and images. We’ll use the Prototype Pattern to efficiently manage the creation of these graphic elements.
Step 1: Define the Prototype Interface
First, we define an interface IGraphicElement with a Clone method to handle cloning of graphic elements.
public interface IGraphicElement
{
    IGraphicElement Clone();
}
Step 2: Create Concrete Prototype Classes
Next, we create concrete prototype classes for different graphic elements like Rectangle, TextBox, and Image.
public class Rectangle : IGraphicElement
{
    public int Width { get; set; }
    public int Height { get; set; }

    public IGraphicElement Clone()
    {
        return new Rectangle { Width = this.Width, Height = this.Height };
    }
}

public class TextBox : IGraphicElement
{
    public string Text { get; set; }

    public IGraphicElement Clone()
    {
        return new TextBox { Text = this.Text };
    }
}

public class Image : IGraphicElement
{
    public string FilePath { get; set; }

    public IGraphicElement Clone()
    {
        return new Image { FilePath = this.FilePath };
    }
}
Step 3: Client Code
Now, let’s create a client class GraphicTool that manages prototypes and allows users to create new graphic elements based on prototypes.
public class GraphicTool
{
    private Dictionary<string, IGraphicElement> prototypes = new Dictionary<string, IGraphicElement>();

    public void AddPrototype(string key, IGraphicElement prototype)
    {
        prototypes[key] = prototype;
    }

    public IGraphicElement GetPrototype(string key)
    {
        return prototypes[key].Clone();
    }
}
Usage Example
Finally, let’s demonstrate how to use our GraphicTool to create new graphic elements:
var graphicTool = new GraphicTool();

// Add prototypes
graphicTool.AddPrototype("Rectangle", new Rectangle { Width = 100, Height = 50 });
graphicTool.AddPrototype("TextBox", new TextBox { Text = "Sample Text" });
graphicTool.AddPrototype("Image", new Image { FilePath = "sample-image.jpg" });

// Create new elements
var clonedRectangle = graphicTool.GetPrototype("Rectangle");
var clonedTextBox = graphicTool.GetPrototype("TextBox");
var clonedImage = graphicTool.GetPrototype("Image");
In this example, our GraphicTool manages prototypes for different graphic elements, allowing users to create new elements by cloning existing prototypes. This approach simplifies the creation process and ensures consistency across graphic elements.
Pros and Cons of the Prototype Pattern
Pros:
- Reduces object creation overhead.
- Ensures consistency in object creation.
- Simplifies object creation processes.
Cons:
- Requires careful management of prototype objects.
- May lead to deep cloning complexities for complex objects.
Relations with Other Patterns
The Prototype Pattern is often used in conjunction with other design patterns, such as:
- Factory Method Pattern: Prototypes can be created using factory methods.
- Singleton Pattern: Prototypes can serve as singleton instances for object creation.
Conclusion
The Prototype Pattern in C# offers a robust approach to efficient object creation, especially in scenarios involving complex object hierarchies. By leveraging cloning mechanisms, developers can streamline development processes and improve overall system performance. Incorporating the Prototype Pattern in your software designs can lead to more scalable and maintainable applications.
References
For more information and detailed references on the topics discussed in this article, please refer to the following link: